Published August 1, 2017 12:00AM
How to Ford a River
Advice from a longtime NOLS instructor on when and how to cross a river, without drowning
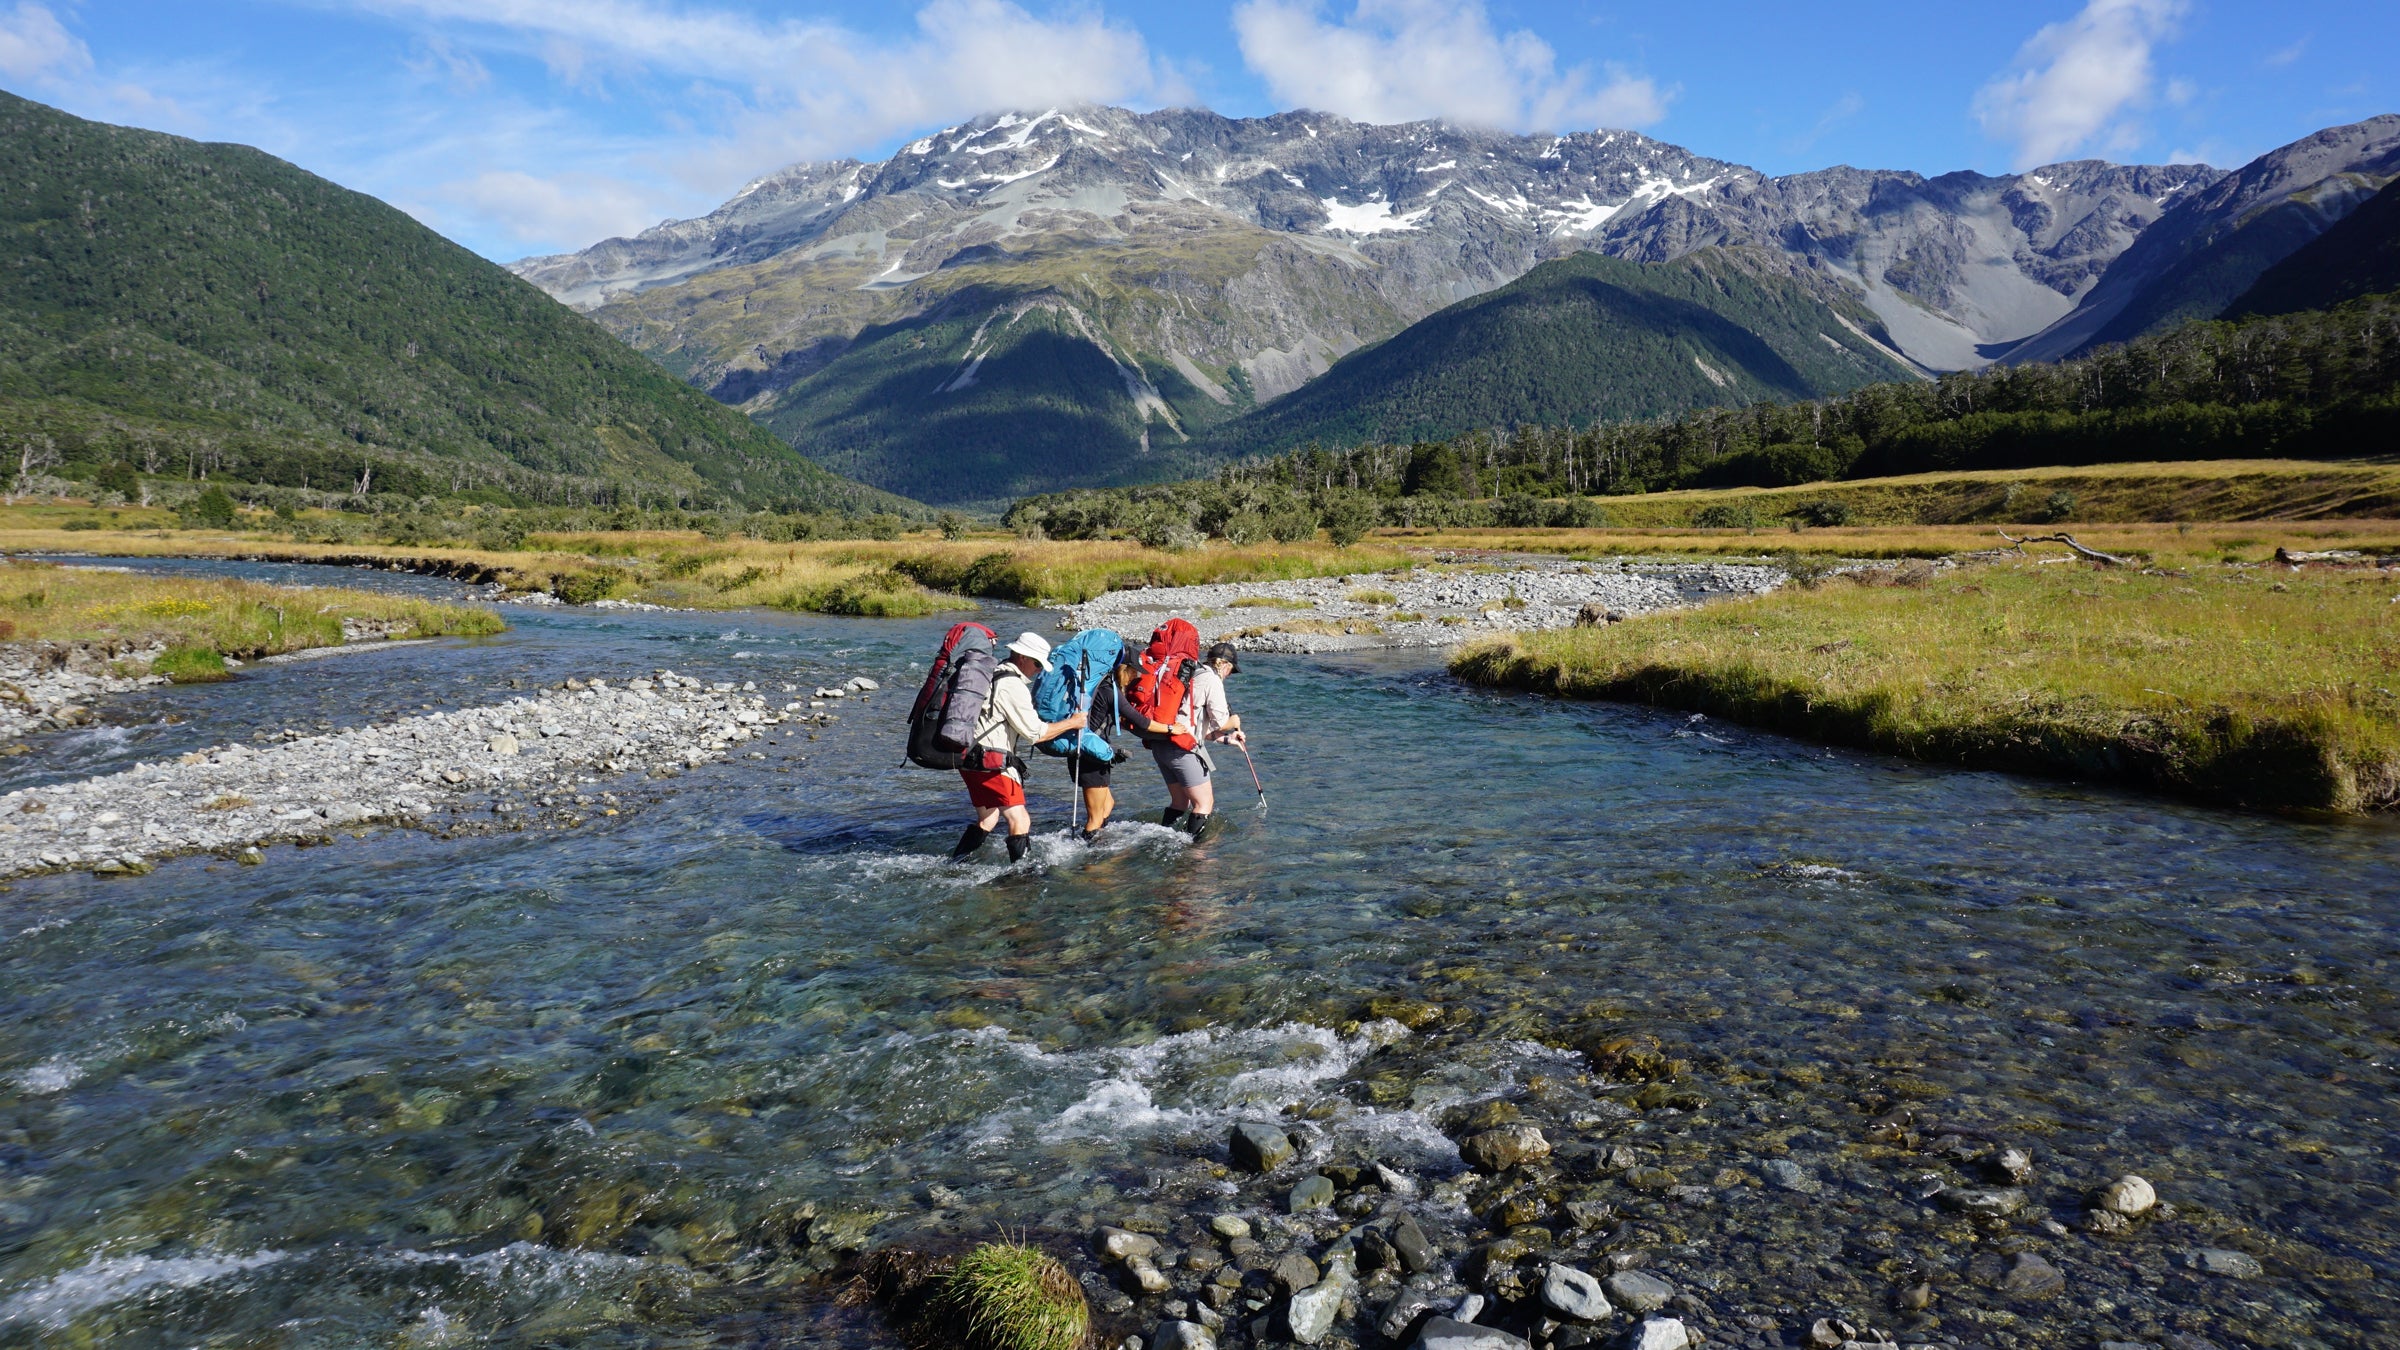
Hiking partners cross a stream near Nelson Lakes, New Zealand.
Imagine you’re backpacking with a few friends in the mountains. Then imagine that the thin blue line on your map indicating a stream turns out to be a river blown out by snowmelt when you arrive at its banks. Perhaps the trail you’re following disappears at the water’s edge, continuing on the other side. You’ll need to cross the water.
Properly fording a river is an art of survival, a process more complex than trudging blindly into the current. To learn how to safely ford a river, we called Marco Johnson, a National Outdoor Leadership School (NOLS) field instructor who for more than 30 years has traveled the globe teaching wilderness courses.
#1. Try to Avoid the Crossing
“The first question I always ask myself: Do I have to cross the river?” Johnson says. “And if so, can I cross it dry?” He explains that hikers often cross a river only to find themselves crossing back a few miles later when it snakes back on itself. You should know your route well enough to avoid multiple crossings of the same river. “I would also look to see if there’s a bridge somewhere,” he says. Even if it means walking a few extra miles, bridge crossings are “a whole lot less dynamic than trying to do a wet crossing.”
#2. Try to Make a Dry Crossing
So you know the route, and there’s no nearby bridge. Johnson recommends first trying to find another way to cross the river without getting wet. Look for dry rocks, a beaver dam, or a well-anchored tree lying across the water. If those things are wet and slippery, scoop up some handfuls of sand or dirt and throw it down on the rocks or tree to create a “no-slip surface,” as Johnson says.
ADVERTISEMENT
For groups with technical skills and ropes, Johnson says hikers can fix a handline across the river or create a Tyrolean traverse—a process where one person crosses, sets up a fixed line, and then the rest of the hikers clip into the rope with a harness and pull themselves across. “It’s a dying art and a really good technique to cross a river,” he says.
#3. WADE into a Wet Crossing
Johnson uses the acronym WADE—Watch, Assess, Decide, Execute—to break down the steps needed in a river crossing. Watch and assess the river’s environmental conditions: Is it rising and falling? Is it raging from snowmelt? Is there a good access point without a steep drop-off into deep water? Is there an easy exit point? Then decide: Can the group safely cross the river? If so, Johnson says, execute one of several strategies.
Johnson uses the eddy technique when crossing rivers with groups all over the world. Facing upstream, hikers line up one behind the other and push down on each other’s hips. The leader takes the brunt of the water’s force, creating an eddy so the people behind are protected from the brunt of the current. Then, using coordinated foot movements and good communication, the group sidesteps across the river.
ADVERTISEMENT
It’s best to cross shallow water, even if it’s moving faster than a deeper section of the river. “Moving water is powerful,” Johnson says. “The deeper you wade, the more surface area there is for water to push on.”
Regardless of where you cross, Johnson recommends keeping your boots on. “You want to protect your feet,” he says. Cutting your foot or rolling your ankle will be much more detrimental to an excursion than having a pair of soggy boots.
And what about your pack? “With a true wet crossing, where you’re worried about falling or being swept away, take off your sternum and hip strap, so if you were to go down, you could jettison the pack,” Johnson says.