Published February 26, 2019 12:00AM
Photography Exercises to Get Better Behind the Lens
Keep these lighting and composition tips in mind the next time you take your camera for a walk
4 exercises to practice to become a better photographer.
Taking a good photograph requires paying attention to more than just the exposure settings on your camera. Before you fiddle with your aperture and ISO, you have to make decisions about your subject, the surrounding landscape, the light, and how you want to arrange all of those elements within the frame. A lot of the learning process comes down to trial and error: take a photo, see what you did wrong, then try again a little differently until you come up with something you like. But a few guidelines go a long way to speeding up that process.
In search of some actionable practices that beginners can use to hone their photography skills, we reached out to Jennifer Davidson, a professional travel photographer who spends several months a year on National Geographic Expeditions cruises in the Galápagos Islands, Cuba, and Southeast Asia teaching participants how to use their cameras to capture the environments they explore. Here are her tips.
Play with Simple Composition
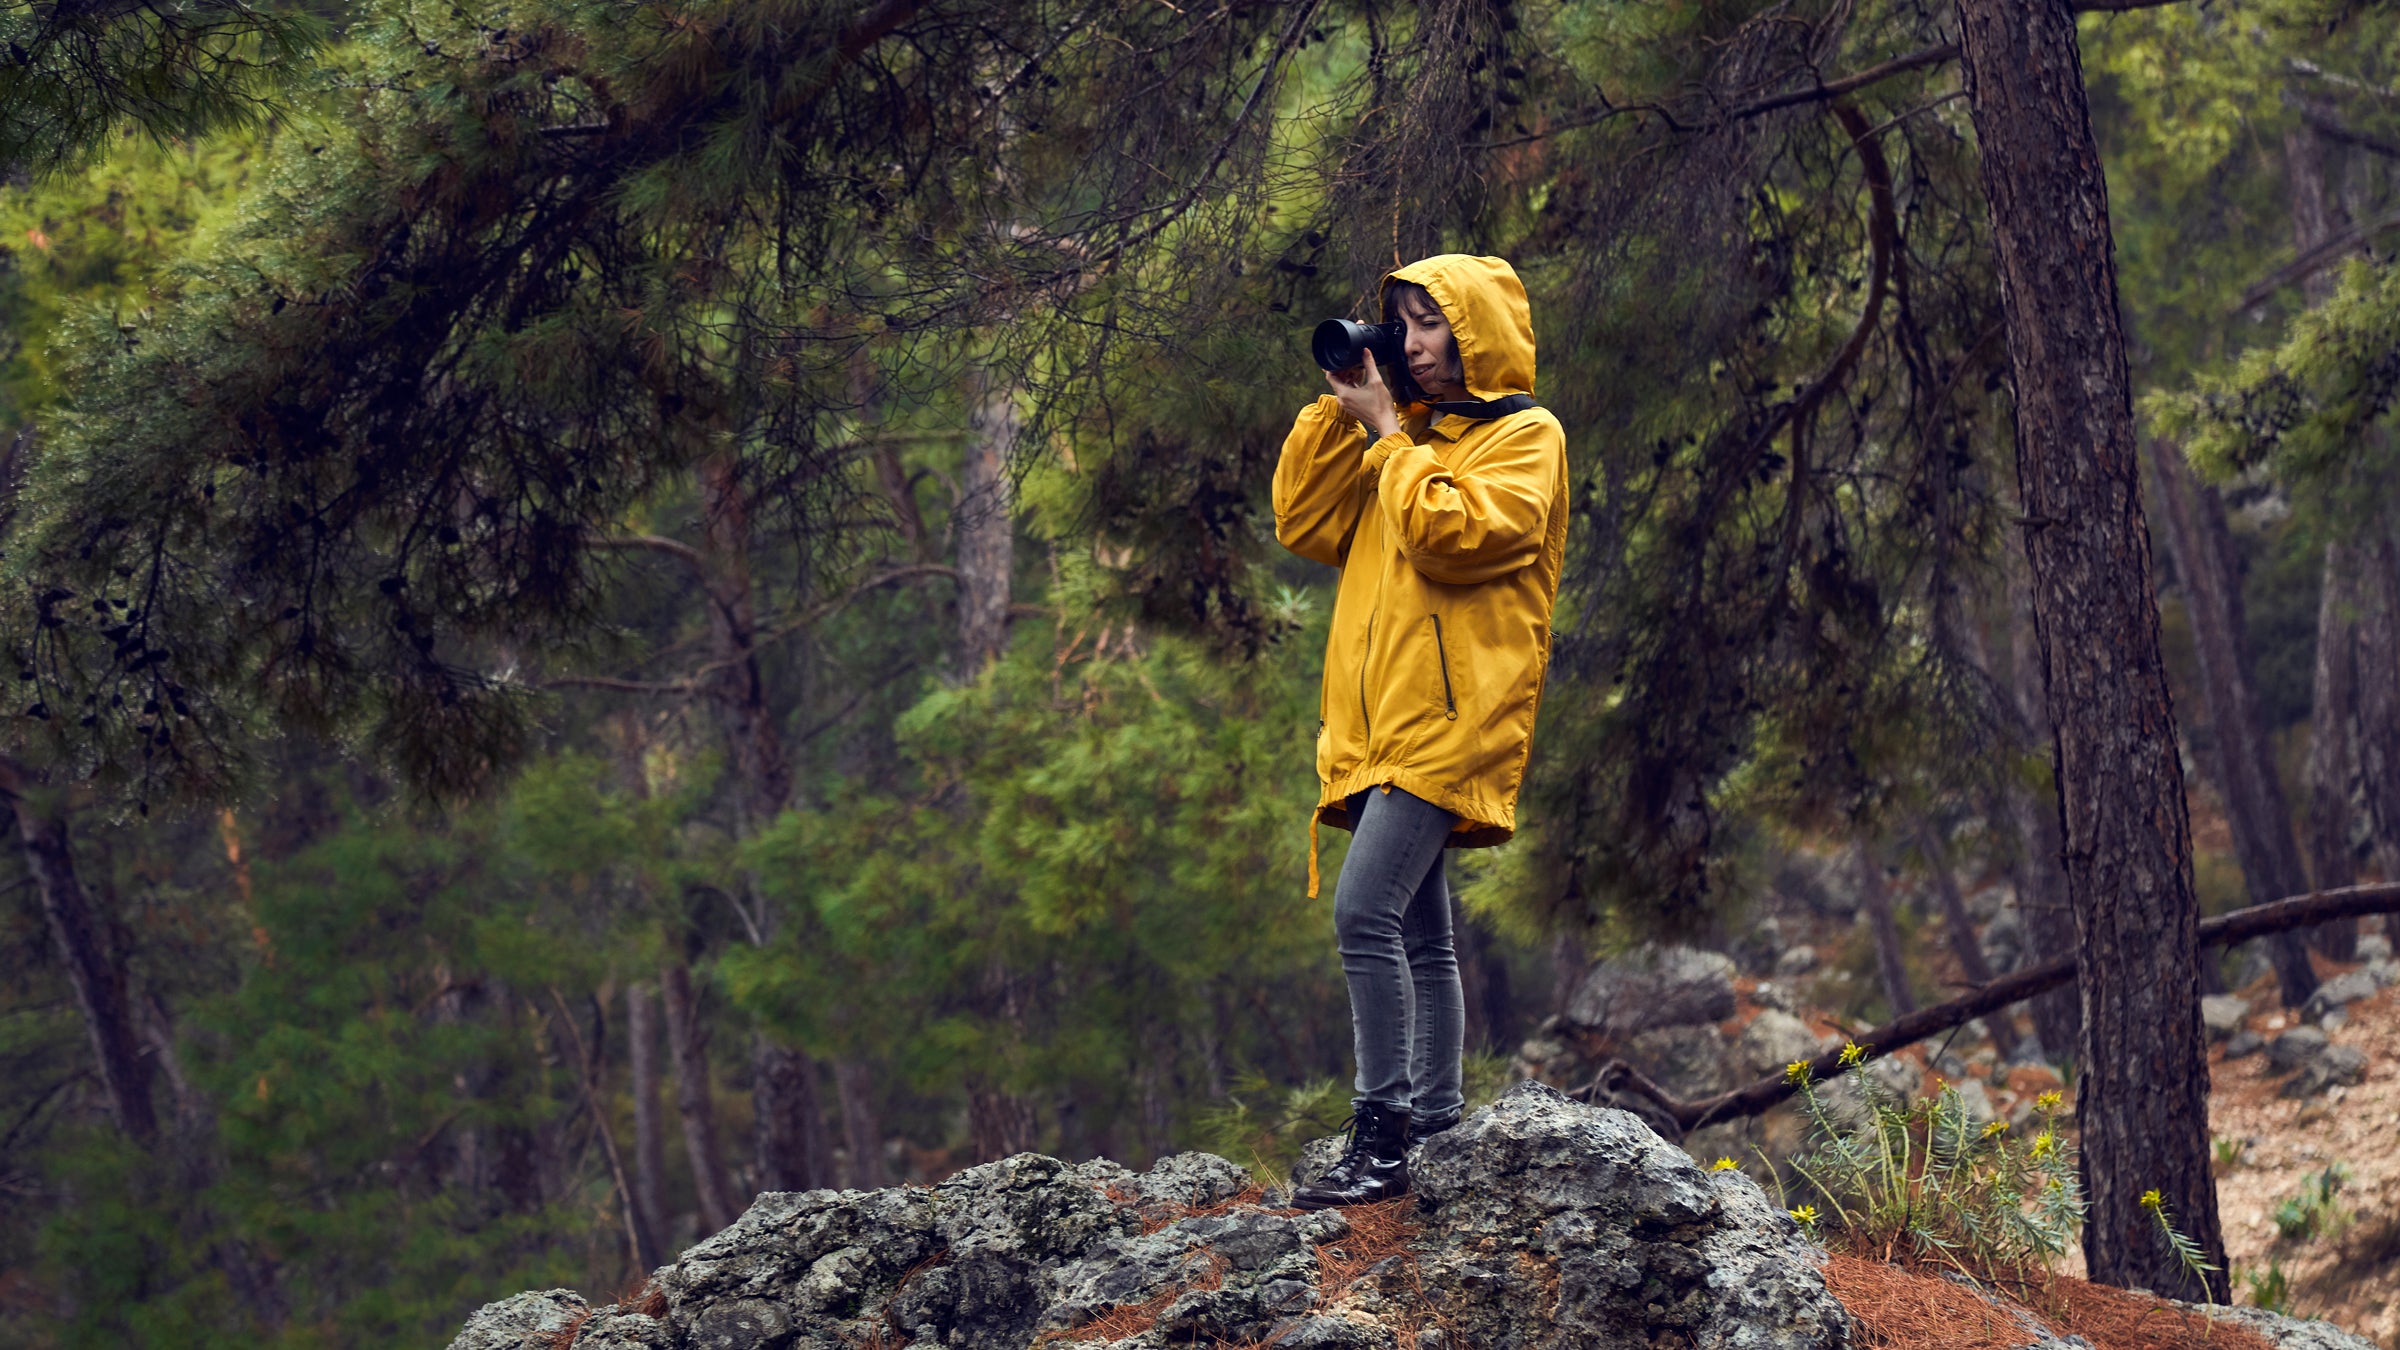
Many of the places people take their cameras in the outdoors, like forests, crags, or canyons, provide complex backdrops for photos. In these locations, trying to capture too much will cause your image to look busy. “Often beginners think that capturing the feeling of the place means getting it all,” Davidson says. “But there are different ways to show how a place looks or feels without showing everything.” If you’re in a forest, this might mean shooting just the trunks of aspen trees and their shadows or a few fallen leaves. “A detail shot can still tell a story,” she says. “It can tell that you’re in a forest in the fall without showing the entire scene.”
Try This: The next time you’re out with your camera, pick a few details and practice photographing them in a way that evokes the feeling of the whole place. Identify the qualities of your location that you want to try to capture—whether it’s a smell, an emotion, or a type of geography—and the specific things that give the landscape that quality. Then shoot close-ups of those details without worrying about capturing anything else.
ADVERTISEMENT
Think About How to Frame Your Subject
When shooting people or animals, use the natural features of the landscape to draw the viewer’s eye to your subject. One way to do this is through what Davidson calls a leading line. “A trail can be a great leading line to the subject,” she says. “You see that a lot in photographs of hikers or mountain bikers. In photos of skiers, the leading line is often the tracks that they leave in their wake.” Davidson also suggests paying attention to the shapes in the landscape, whether it’s nearby trees or distant ridgelines, and positioning your subject so that they’re framed by those shapes.
Try This: Find a scenic section of trail and a friend willing to run or walk laps on it, then shoot from different angles, using the singletrack to direct the focus toward the subject. Or practice setting up shots using different natural elements as a frame, like a branch to outline the person’s body or face or the silhouette of mountains to draw the eye to your subject.
Look for the Shadows
Dramatic lighting usually yields the best photos, whether it’s sunset-hued, soft and partly clouded, or high contrast. But there is more than one way to use it to your advantage. Davidson suggests looking for interesting shadows. “The shape of the shadow is really important,” she says. Shadows often show up black in photos, since cameras can’t see as wide a dynamic range as humans can. In other words, they’ll be more noticeable in your photos than they are in real life, creating eye-catching effects or even acting as a frame or leading line for your subject.
ADVERTISEMENT
Try This: As you move through a landscape, pay attention to where the light falls and how it moves over time. Then pick out interesting shadows and look for the landscape elements creating them. Photograph that feature in contrast with its shadow to enhance it.
Study Your Bad Photos
When a photo doesn’t turn out the way you wanted, it’s tempting to just delete it. Fight this urge. Davidson recommends holding on to bad photos so you can study the metadata—the settings you used for things like shutter speed, aperture, and ISO—and learn what you did wrong. “If a picture didn’t work but you love the quality of light, keep that picture,” she says. “The next time you’re in that scene, you can use your photo as a queue to try something a little different [with your settings] to try to get that same kind of feel.” Above all else, never delete in-camera photos. Davidson points out that people have emotional attachments to their experiences in the outdoors. If you’re having a really bad time on a trip, you’ll probably be tempted to delete good photos—or photos with elements you want to duplicate next time—simply because you’re eager to forget the type-three fun. Wait a few days or weeks so you can sift through your shots with a clear, analytical mind.
Try This: Wait until you get home to your computer, and ideally give yourself a few days or weeks before processing your photos. When you do sit down to look through your images, keep the ones that didn’t turn out great. Take notes on what worked and what didn’t in each, so you know which settings to duplicate and which ones to fiddle with next time.