

This year I’m planning 29 guided backpacking trips. They are scheduled through October, run three to seven days, and are scattered throughout North America in the high desert, eastern woodlands, Mountain West, and Alaska. I will also ready my company’s more than 240 clients, who are of mixed ages, genders, fitness levels, and experience.
To pull this off efficiently and minimize mistakes, over the years I’ve developed a planning process that works for any trip and can be used by any backpacker.
1. Define Your Trip’s Parameters
General questions are a good starting point for trip planning. You don’t need definitive answers to every question right away, but you’ll want to begin narrowing your options.
Start by asking where you want to go, when, and what kind of trip it will be. Why hiking rather than car camping?
Then add more specifics. What length of time will you be traveling? What specific trails, routes, landmarks, or campsites do you want to visit? How many miles or how much vertical distance do you intend to cover? Who else do you want to join you, if anyone?
Finally, consider the logistics. Do you need permits? If so, how, when, and where will you get them? How will you get to the trailhead and back? Are there unique or notable land-use regulations or requirements you need to be aware of?
I suggest taking all these details and dropping them into a document that can be shared with emergency contacts before you leave.
2. Research Conditions
Once you have a reasonably defined trip plan, research the conditions you will likely encounter, so that you can prepare properly, mitigate risks, and rule out baseless what-if scenarios.
I’m only interested in conditions that will influence my selection of gear and supplies or demand particular skills. I recommend looking into climate, sun exposure and hours of daylight, footing (the most common types of walking surfaces), vegetation, wildlife and insects, navigational aids (signage, blazes, cairns, and posts), water availability, remoteness, and potential natural hazards like avalanches and lingering snowfields, river fords, possible flash floods or tides, or lightning.
Compile the findings of your research in a separate document, and cite your sources, so you can easily compare any contradictory information you later find elsewhere.
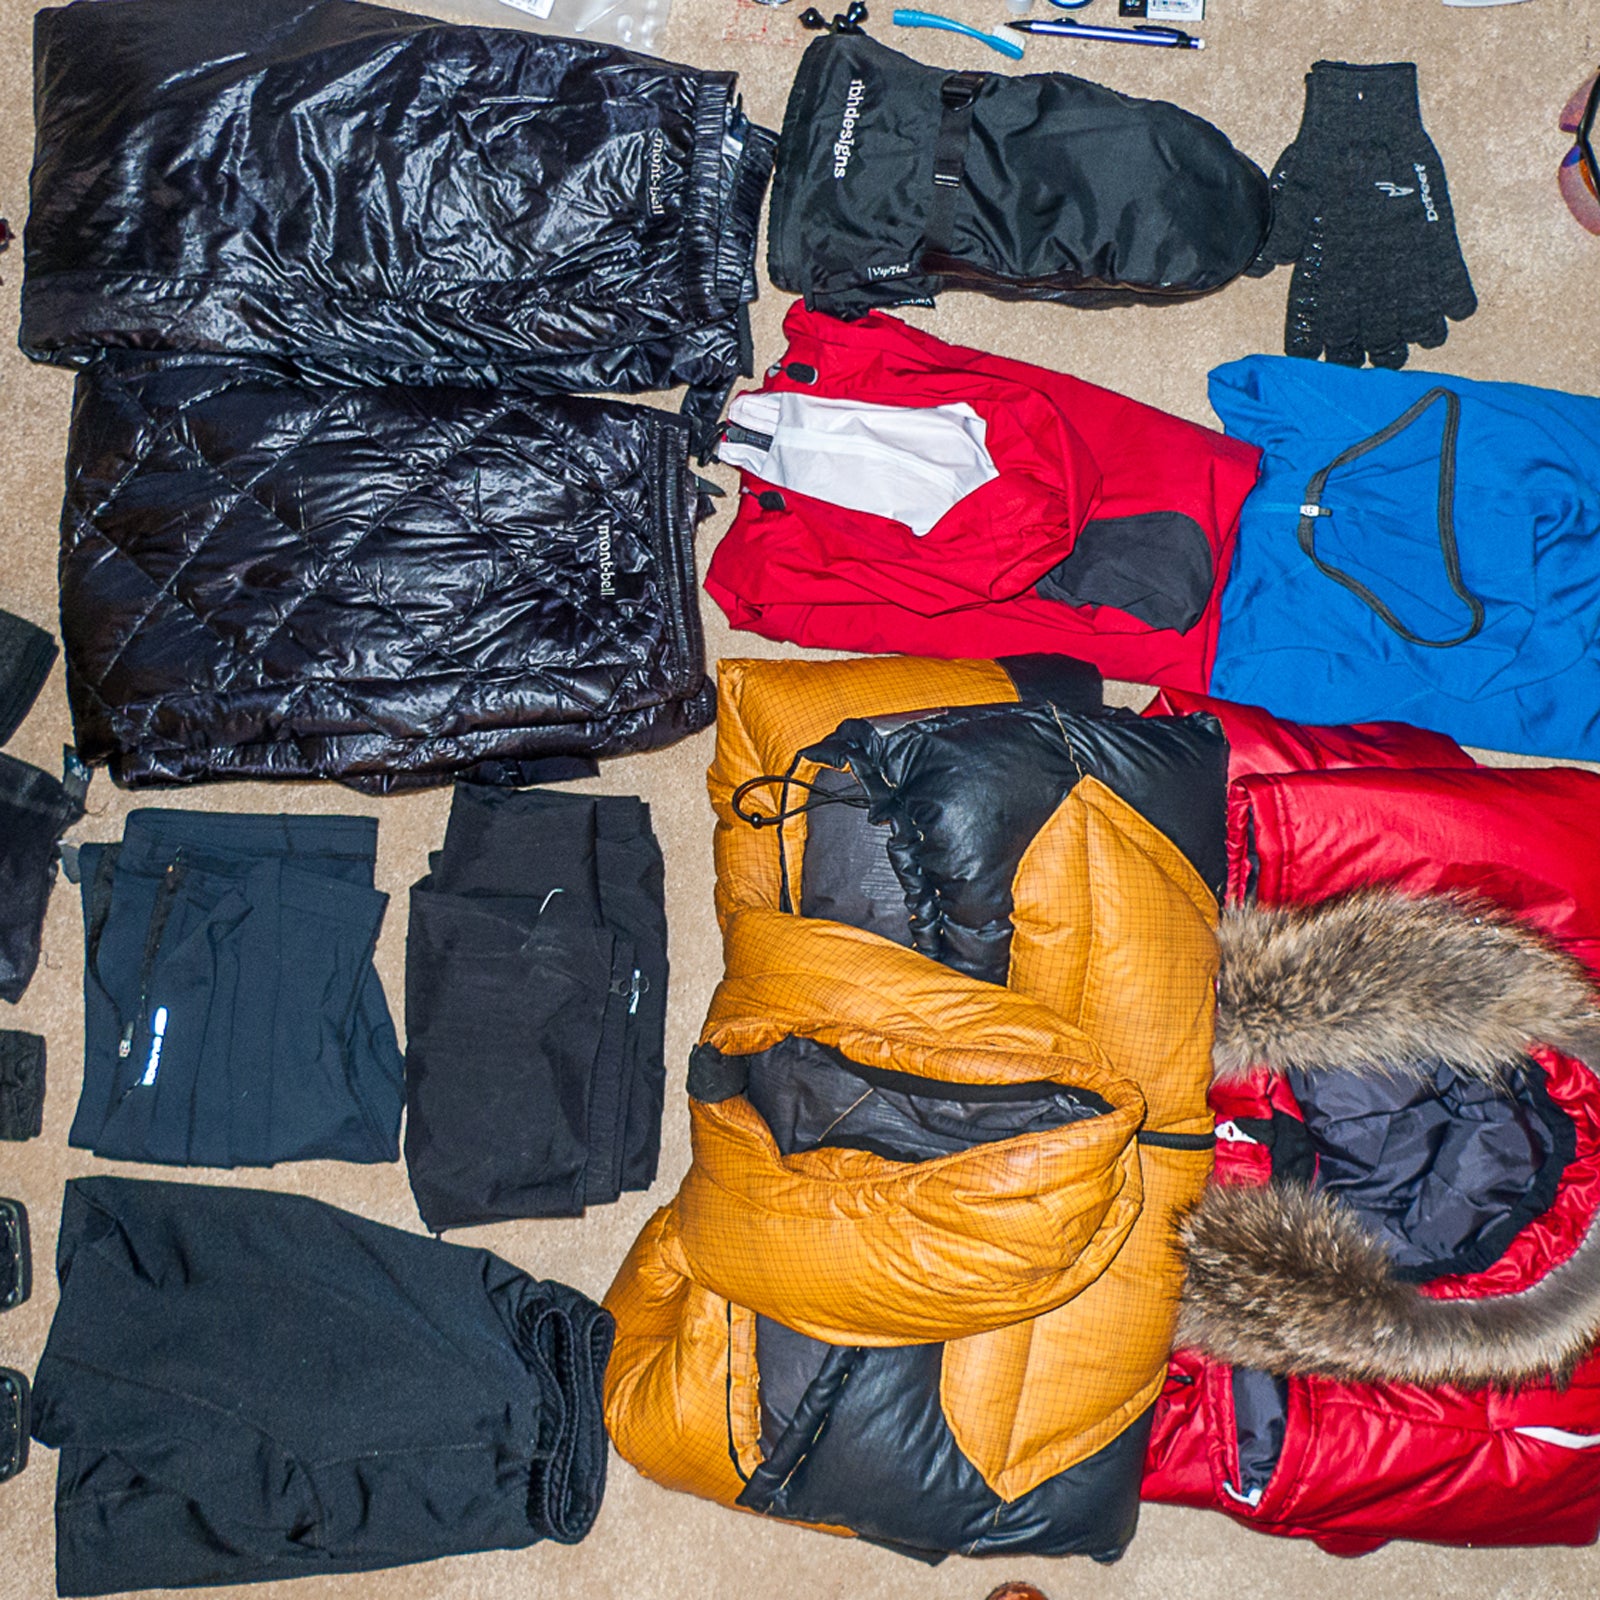
3. Select Gear
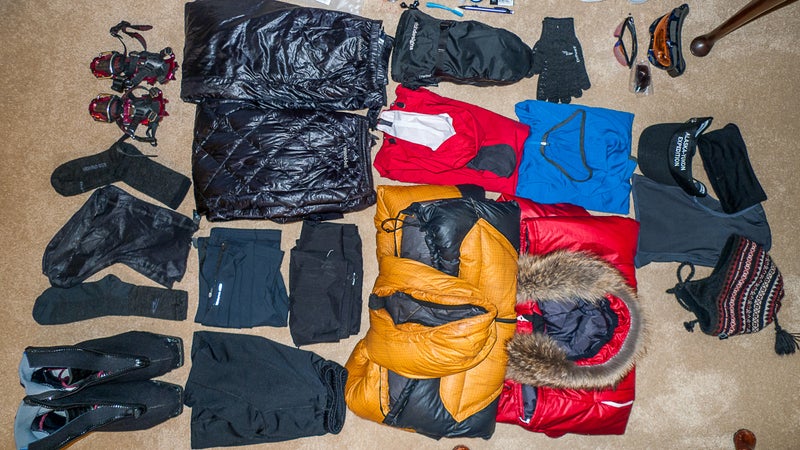
For a beginner backpacker, the task of gear selection is usually the most time-consuming, certainly the most expensive, and unfortunately also the most frustrating—it’s very easy to go down the rabbit hole here. A good backpacking checklist and run-down of gear is a great place to start.
To make this process easier for my clients, I give them a time-tested gear-list template that I designed, along with examples of completed gear lists for trips similar to the one they’re going to take and a copy of The Ultimate Hiker’s Gear Guide. These resources should help cut through the noise.
Clients also have email access to their guides and their group, so that they can get trip-specific advice. If you don’t have an immediate contact who really knows their stuff, I suggest a community forum like Reddit’s r/Ultralight. Make sure to tailor your gear to your itinerary and expected conditions.
4. Plan Your Food

We’re vulnerable to packing our fears. If we fear being cold at night, we bring a sleeping bag that’s excessively warm. If we fear bears, we sleep in a full-sided tent (which won’t help but may make us feel better). And if we fear being hungry, we pack too much food.
I’ve given in-depth meal-planning recommendations before, so here I’ll just go over some basic pointers. First, plan to consume 2,250 to 2,750 calories per day. (I generally assume an average caloric density of 125 calories per ounce, which means about 18 to 22 ounces daily.) If you’re older, female, petite, or on a low-intensity trip, go with the low end of this range. If any of the opposites are true, go with the high end. Variety is the spice of life, so pack foods with varying tastes (spicy, sweet, salty, sour) and textures (chewy, crunchy). Early in a trip, treat yourself with real food, like a ham sandwich, an avocado, or an apple. This will also delay the onset of culinary boredom.
For breakfasts and dinners, try these field-tested options instead of spending your hard-earned cash on exorbitantly priced freeze-dried meals or punishing yourself with thru-hiker fare like ramen noodles or Lipton Sides.
5. Create or Collect Navigational Resources
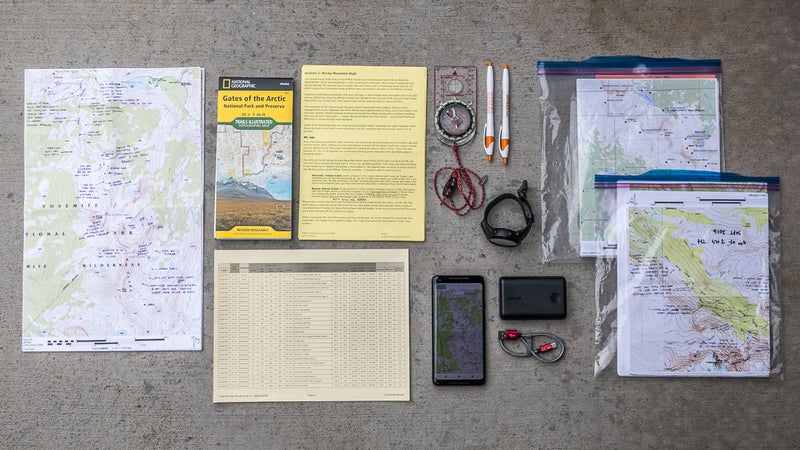
For my first hikes, I utilized whichever resources were conveniently available and seemed sufficient. Before thru-hiking the Appalachian Trail in 2002, for example, I purchased the Appalachian Trail Data Book and downloaded the Appalachian Long Distance Hikers Association’s Thru-Hikers’ Companion. To explore Colorado’s Front Range the following summer, I bought a few National Geographic Trails Illustrated maps that covered the area.
But when I started adventuring off the beaten path, I had to create some or all of these materials from scratch. Through this process, I developed what I believe to be an optimal system of maps and resources that includes large- and small-scale paper topographic maps, digital maps downloaded to a GPS app, route descriptions and tips, and a data sheet (a list of key landmarks and distances along a trail or route).
6. Gain Fitness and Skills

There’s no better way to improve your hiking fitness than by hiking, and there’s no better way to develop backpacking skills than by backpacking.
But who has the time and ability to do that? Not me, and likely not you.
The next-best option is to work out more intensely to maximize the potential of the time you do have available. Personally, I do this by running 60 to 70 miles per week. Ultralight backpacking pro Alan Dixon has a training plan that’s more hiking oriented (and more realistic). You can also read and watch skill tutorials, such as my series on navigation, pooping in the woods, finding great campsites, packing your backpack, and tying knots.
A test hike is also very valuable. This systems check is meant to be done in a relatively low-risk environment, and the goal is to get you better prepared for your actual trip. It can be done locally, like in a nearby park or even your backyard, and will give you an opportunity to use your gear, practice some skills, and identify room for improvement before you undertake a more committed itinerary. Focus on replicating the elements of a real trip: hike with a loaded pack, refill your water bottles, change layers, set up your shelter, cook a meal, etc.
7. Conduct a Final Check
In the days before your trip, complete any remaining housekeeping. Using your checklist, pack up all your gear, including your maps, resources, and permits. Buy any necessary perishable foods, like cheese, butter, and tortillas. (This trip-planning checklist has more details.) Look at a five-day weather forecast, and adjust your gear accordingly. Finally, proofread your trip-planner document, and leave it with your emergency contacts.