Published June 6, 2021 12:00AM
If you buy through our links, we may earn an affiliate commission. This supports our mission to get more people active and outside.Learn about Outside Online's affiliate link policy
9 Hacks to Avoid Camp Kitchen Setup Disasters
Tips from a pro on how to keep your outdoor kitchen operating flawlessly
Here are his tips to help you avoid camp kitchen nightmares.
Lars Alvarez-Roos, co-owner of adventure travel company Bio Bio Expeditions and legendary camp cook, has seen every type of outdoor cooking disaster imaginable in his 35 years as a guide—from burgers charred like hockey pucks to the time he used oven mitts to extinguish my flaming hair after I got overzealous with lighter fluid when I was working for him as a young guide. Here are his tips to help you avoid camp kitchen nightmares.
The Problem
Mixing vegetables and meat in a cooler. The result on day two or three of a trip is meat juice permeating the cooler as the ice melts. “It gets into everything and ends up contaminating it all,” Alvarez-Roos says.
The Fix
“On a multi-day event, use a separate meat cooler, dairy cooler, and vegetable cooler,” he says. That avoids cross contamination. “If you are camping with just your family and are bringing enough food for a weekend, I would say everything should be separately vacuum packed,” Alvarez-Roos says. Meats and cheeses need to be vacuum packed or at least in airtight containers or resealable Ziploc bags, but sometimes those can be penetrated by water if they’re not fully closed.
The Gear
If you’ll be using it a lot, invest in a Food Saver Vacuum Sealer ($150). Otherwise, you’ll need airtight containers, resealable plastic bags, or a spare cooler.
ADVERTISEMENT
The Problem
Not using enough ice.
The Fix
“Make sure you have at least one third of the cooler dedicated to maintaining your thermal reservoir,” Alvarez-Roos says. That means that should should have a one-third ice to two-thirds perishables ratio at the beginning of your trip. “If you pre-freeze vacuum-sealed meats, you could look at those as ice blocks,” he says.
ADVERTISEMENT
Alvarez-Roos also recommends using sealed ice containers so you don’t have to worry about melt water like in problem number one. “Take gallon containers of milk, clean them out, fill them with your clean drinking water, and freeze them so you have good clean drinking water as the ice melts,” he says. Distribute the icea as evenly as possible throught the cooler.
The Gear
Any container that can hold frozen water. This also might be a good time to think of upgrading to a larger cooler if your current one doesn’t have enough space for all of your food with the appropriate ratio of ice.
The Problem
Forgetting the butter or oil. “This is the number one thing people leave home when camping,” Alvarez-Roos says.
The Fix
Have a designated camp cooking oil container with the date you last poured oil in on there. I use electrician’s tape and a Sharpie to label what it is and when I last topped up, and it lives in my camp kitchen box.
ADVERTISEMENT
The Gear
Alvarez-Roos suggests the two-ounce travel Nalgenes ($2) as a container to store your preferred cooking oil.
The Problem
Bad cutting board hygiene. “A lot of times people cut the chicken on a cutting board then use the same one for lettuce and tomatoes,” Alvarez-Roos says. “That is a major no-no.”
The Fix
Bring two or three cutting boards if you can and designate different boards for different types of food prep—I use one for meat and two for veggies, fruit, and cheese. It’s even easier if you get different colored boards and designate a specific color for a specific type of food throughout your camping trip. If everyone knows that the red cutting board is contaminated with things that could sicken us all and overfill our groover in mere hours, no one assumes it is clean and whips up a salad on it. Taking the assumption out of the equation leads to heaps less miscommunication.
ADVERTISEMENT
The Gear
While wooden cutting boards are nicer to serve from, plastic cutting boards are easier to transport, easier to disinfect, and generally less expensive. You can get away with flimsy ones, but I find that the extra rigidity like the boards in this three-pack ($18) makes transporting food significantly easier.
The Problem
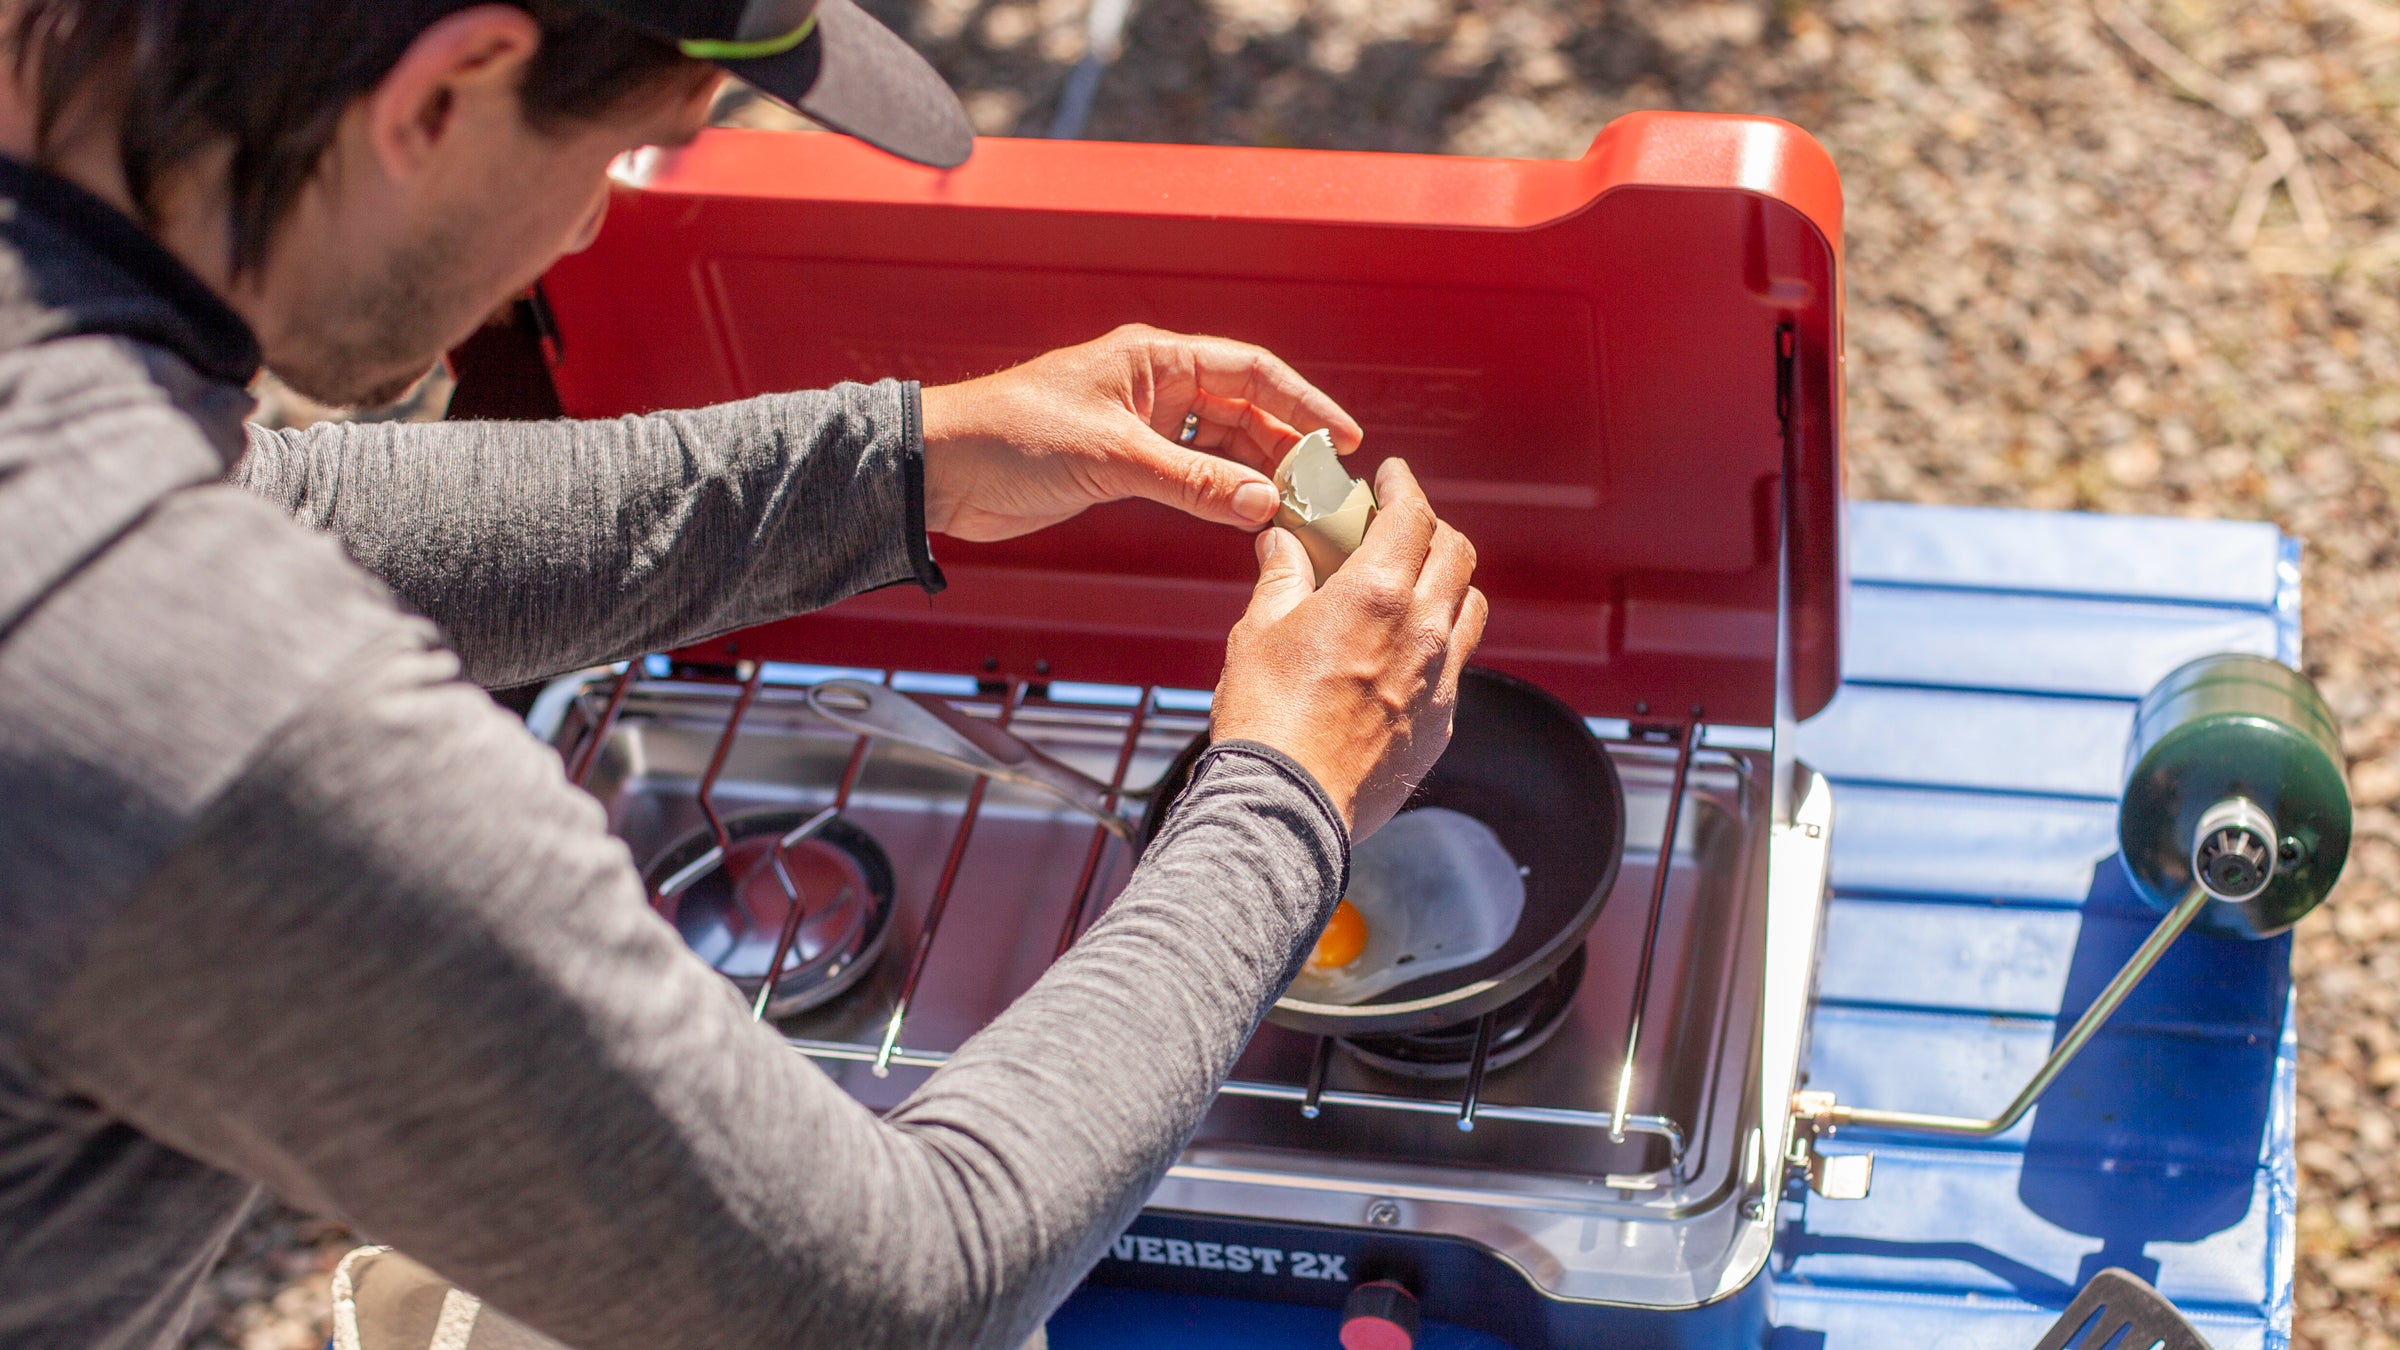
Burning things, or having the flame blow out on finicky camp stoves.
The Fix
Alvarez-Roos recommends orienting your stove so the prevailing wind is blocked and then keeping an eye on the actual size of the flame, especially if you’re not used to cooking on gas. “Keep an ear on it, too: the louder the noise the bigger the flame,” he says.
ADVERTISEMENT
The Gear
I have personally found that Camp Chef’s Rainier Stove ($170) has a good simmer mode and enough wind-blocking capabilities to mitigate blow-outs on all but the windiest days.
The Problem
Cooking and cleaning in the dark.
The Fix
“Make sure you pack a headlamp for cooking and also another light source,” Alvarez-Roos says. “If you get to camp after dark, it is really hard to cook dinner without.” He recommends having two headlamps that live in your camp kitchen kit.
ADVERTISEMENT
The Gear
The Black Diamond Astro ($20) won my inexpensive headlamp test a few years back. Bringing a simple, reliable, solar lantern like this one from Luminaid ($25) is another great way to hedge your bets against washing dishes in the dark.
The Problem
Not fully cleaning or disinfecting your dishes. This can lead to people getting sick.
The Fix
“On river trips, Bio Bio Expeditions uses a four-bucket system,” Alvarez-Roos says. Here’s how the system works: scrape your dishes into a garbage container, then soak them in a pre-rinse to soften tough food particles. Then, scrub like crazy in a bucket of dish soap and water. Step three: dip those dishes in a rinse bucket of clean water to get the suds off. Finally, disinfect the dishes in a bucket of water with a capful or two of bleach in it and air dry.
ADVERTISEMENT
“If you have the luxury of a river right there, that is ideal.” Alvarez-Roos says. The river affords a great deal of water to fill buckets with, but we do not suggest washing your dishes in the river. Please closely follow the local guidelines to properly dispose of your grey water after use.
The Gear
Build a sanitizing station with dish soap, Clorox bleach, and a Sea to Summit Kitchen Sink ($25).
The Problem
People burning themselves.
The Fix
Bring oven mitts and long tongs. Alvarez-Roos suggests using the longest tongs that storage space will allow. It is rare that you wish you had shorter tongs, but you will always be thankful for extra distance when cooking over an open flame.
ADVERTISEMENT
The Gear
Oven mitts from home. If they can fit in your kitchen bin, some 16-inch tongs ($7).
The Problem
People not helping out in the kitchen.
The Fix
“People cook better when they are happy, and people are happier when they have music,” Alvarez-Roos says. “Make sure there are some speakers and a way to play music in your outdoor cooking space.”
ADVERTISEMENT
Alvarez also taught me a rule that I have used for nearly two decades: if you’re on a cooking crew and don’t have a job, you should check in with someone who is busy and offer them a drink. Getting a cold lemonade served to you while flipping burgers in the heat is a quick path to happiness.
The Gear
I love the sound quality from JBL’s Flip 5 ($120). It nails a wide range of music, from sweet folk-tune voices to solid base drops. It’s slightly smaller than a classic 32-ounce Nalgene and has about a 12-hour battery life, so a single charge can get you through a weekend’s worth of meal preparation and cleaning.