Published March 18, 2020 12:00AM
Everything You Need to Know About Ski-Touring Bindings
Maximize your backcountry fun with these tips
Be realistic with your purchase and you’ll have more fun
As Outside’s Gear Guy, a lot of people ask me for gear advice, and guidance on purchasing ski-touring bindings is one of the most common requests I get.
First, an important caveat: be realistic. I’ve fallen victim to unrealistic expectations of my own skiing ability and athleticism, and have ended up with skis, bindings, and boots that were either way too light or way too heavy for my nonprofessional skill set. I suggest buying your first setup with the goal of having the most fun you can within your current ability level. If you grow out of them, you can upgrade. In that growth process, you’ll maximize your touring enjoyment. Here are a few details worth considering when looking for your next pair.
Telemark Versus Alpine-Touring Bindings
How much weed do you smoke? If the answer is anything less than “Hella weed,” then stick with alpine-touring bindings.
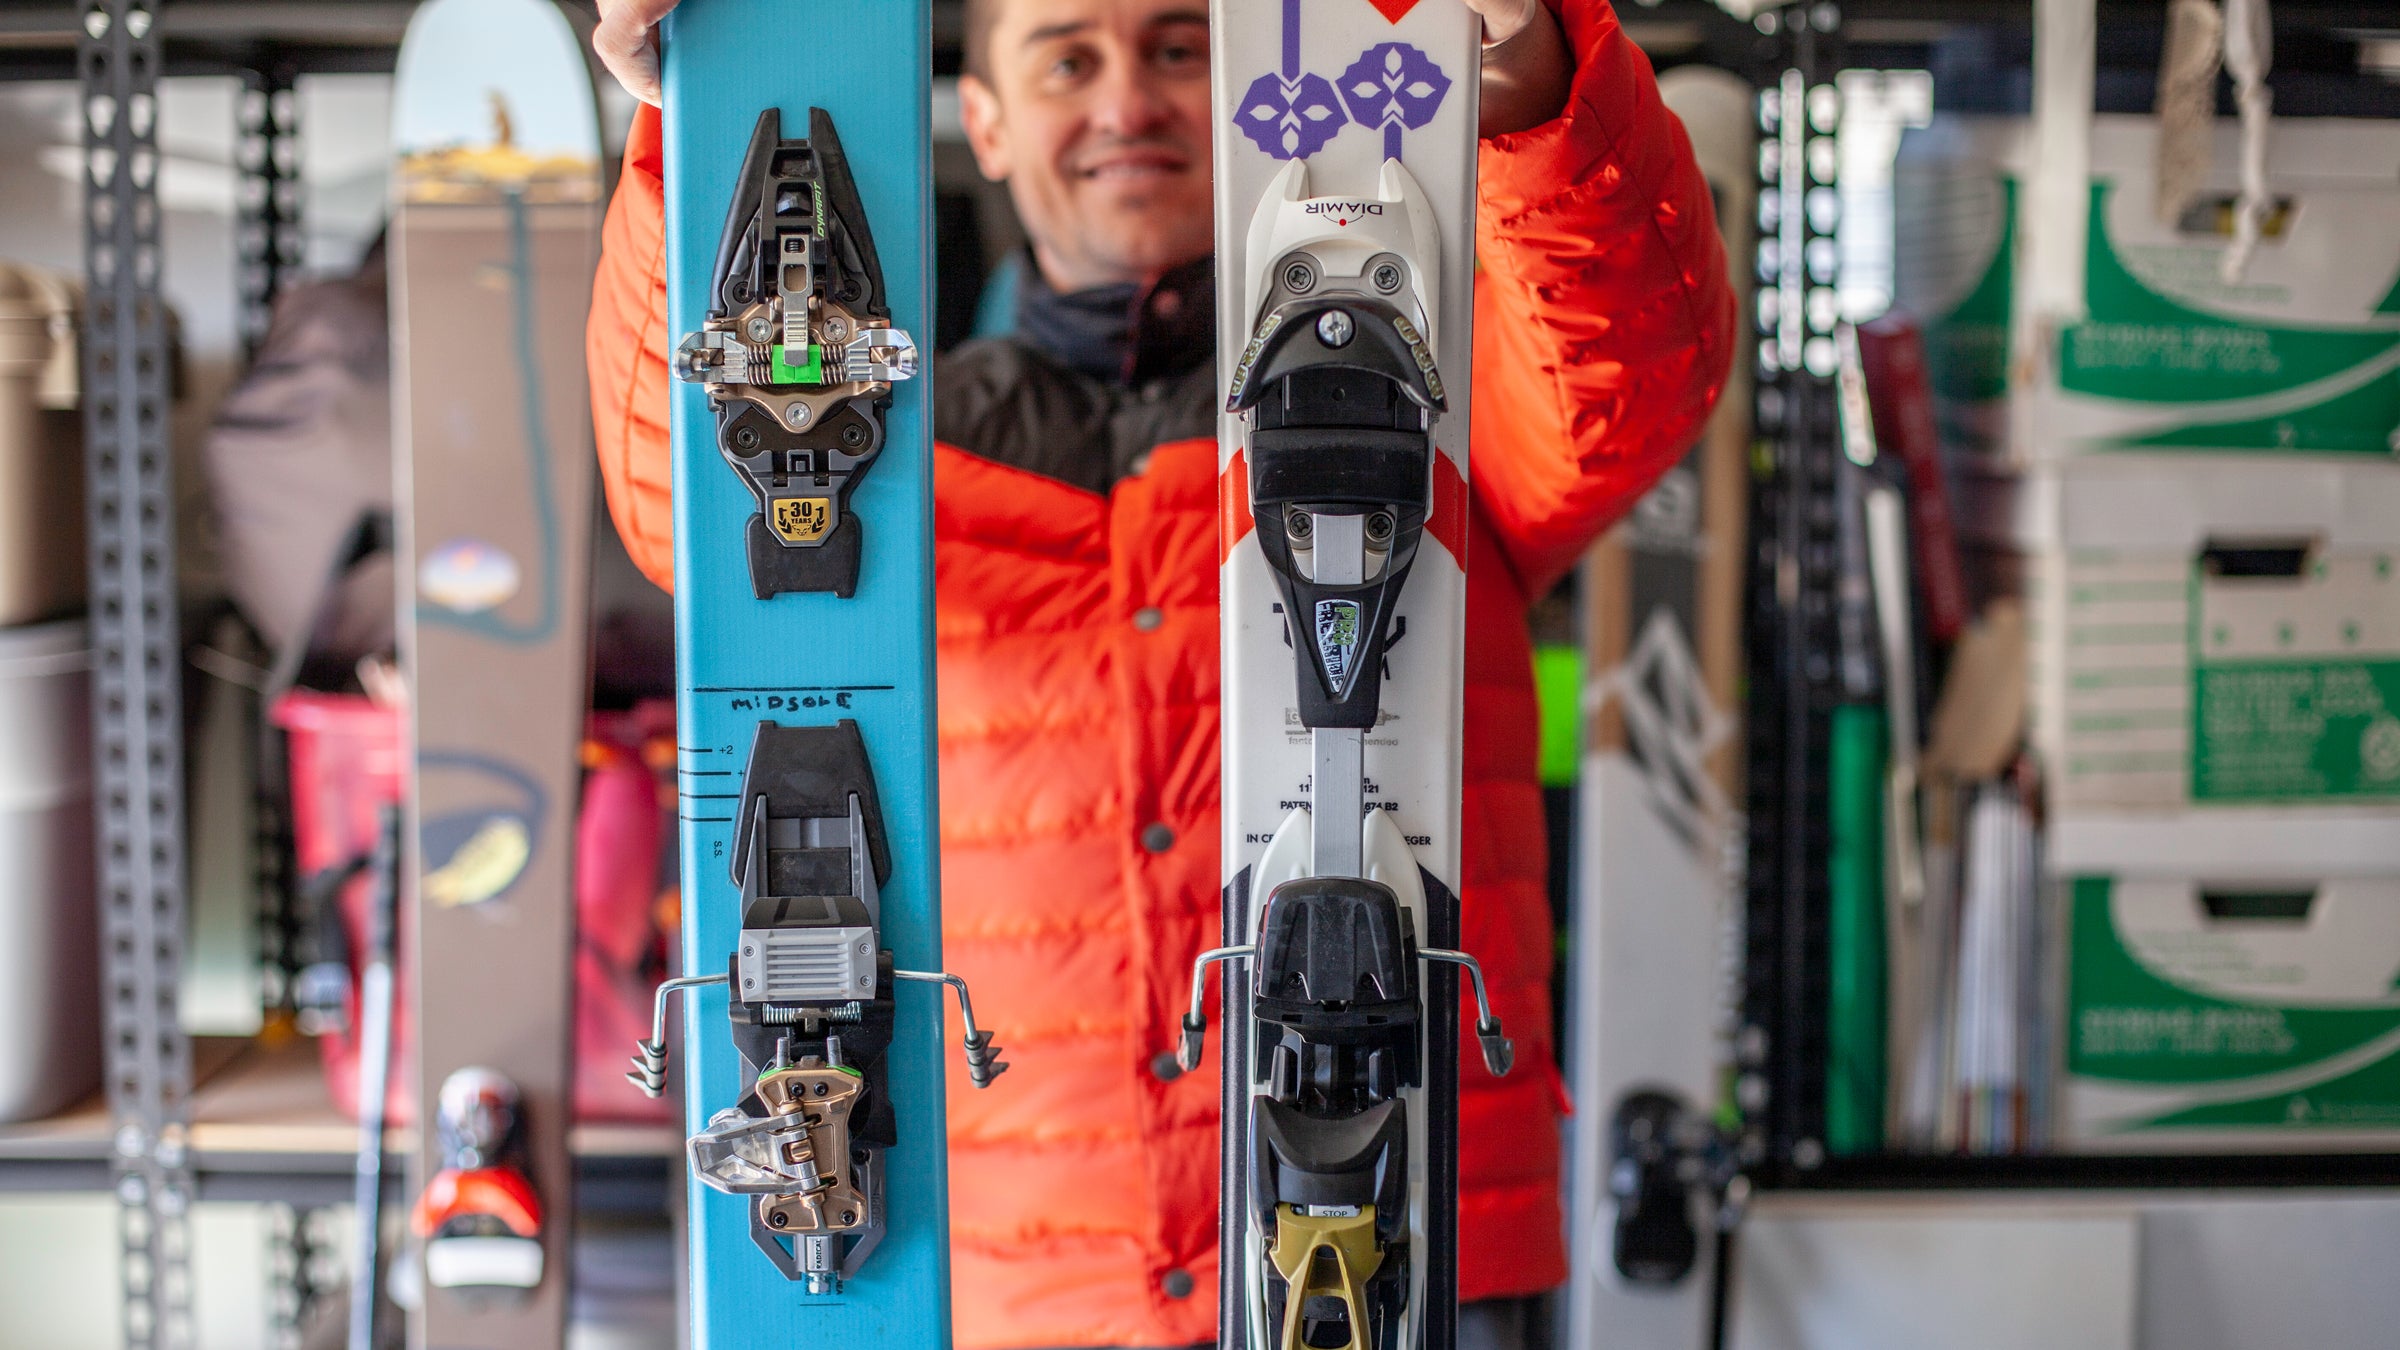
Frame Versus Tech Bindings
Frame bindings closely resemble resort bindings and can be used with regular alpine ski boots as long as the boots have a walk mode. From first glance, they can look nearly identical to resort bindings, except for a frame that spans toe to heel, keeping it attached to your boot when you unlock the heel to climb.
ADVERTISEMENT
Tech bindings have two separate pieces—one at the toe and one at the heel—and, for the most part, two toe pins that grab your boot on either side. You need boots specifically made for tech bindings, or boots with tech inserts, to use these.
While it may be tempting to get frame bindings so you can keep your current boots, I suggest getting tech bindings if you have the money. Frame bindings are heavy and make long tours miserable, which is compounded if you’re using resort boots. If you’re an extremely aggressive skier, there are some seriously burly tech bindings and boots out there for you.
Weight Versus Performance
Every decision you make in your backcountry ski kit will have some level of push and pull between weight (uphill) and performance (downhill). There are some amazing products that are closer to delivering the best of both worlds, but at the end of the day, you always take a weight penalty for downhill ability. Again, this is a great opportunity to be honest with yourself and your skiing skills. If you aren’t skimo racing or making massive approaches to objectives, you probably don’t need the lightest binding on the market. Unless you are hucking cliffs or skiing in no-fall zones, you probably don’t need the beefiest. But unnecessarily heavy bindings will make climbs less fun. Buy for the skiing that is the most fun for you now. If you’re more excited about the fitness aspect of the climb, go lighter. The same applies if you are more interested in pushing your skiing. Just don’t go to extremes in your purchase.
DIN Setting
A lot of folks are hyper focused on having bindings with a really high DIN setting (the higher the number, the more force it takes to release in a fall), even when they don’t need it. I always remind my friends that you want your bindings to release. There are, of course, skiers who are hucking cliffs or regularly skiing exposed lines in which unwanted separation from their skis would be catastrophic. If you’re not one of those skiers, you don’t need a binding with a 15 DIN setting. You can save yourself a lot of money and weight by being reasonable about how high your DIN setting should actually be.
ADVERTISEMENT
Boot Compatibility
If you’re buying a pair of bindings online, quadruple-check that the ones you’re buying are compatible with the boots you have or are purchasing. Some brands, or models within brands, aren’t compatible with bindings from other brands. This is an extremely frustrating and potentially expensive oversight to discover after you’ve had skis mounted with bindings.
Ski Compatibility
Make sure your bindings are powerful enough to drive whatever ski you’re pairing them with. If you have big, heavy skis that are more than 100 millimeters underfoot, don’t try and make up a few ounces by getting really lightweight bindings.
Brakes
While brakes add weight and are yet another thing to break on a binding, I swear by them. If I fall, I really want my skis to release and also travel away from my body as I tumble. Leashes keep the skis attached to your boots, which terrifies me, but no protection means your skis can become waxed torpedoes that may disappear into the woods or impale anyone in their trajectory. There are definitely cases, like in serious ski-mountaineering objectives, in which brakes wouldn’t do you any good and would just add weight. If you are a more casual enthusiast, brakes will serve you very well.
ADVERTISEMENT
Let a Pro Mount Them
Anyone with the right tools and the correct template can mount a touring binding, but enough can go wrong that I suggest you leave it to the pros—at least for your first set. I also recommend getting them mounted at a shop that will test to see if they are releasing correctly. Placing this important part of the process in the hands of professionals will keep you safer and give you peace of mind.
Tinker, Tinker, Tinker
One of the best pieces of advice I received when I had my first Dynafit bindings mounted was to mess around with them in my living room before I took them out skiing; finding out how to get in and out of them, transitioning from climb to ski mode, and messing with the risers in the comfort of your home is significantly better than trying to figure all that out on a cold skin track with a group of your buddies waiting on you. I cannot stress enough how much easier this will make your first touring experiences, and even if you can’t ski regularly, you can get to know your gear well if you tinker with it in your house.