Published November 4, 2019 12:00AM
Lindsey Vonn's Trainer Shares His Killer Ski Workout
10 exercises to make you strong, fast, and explosive on the hill
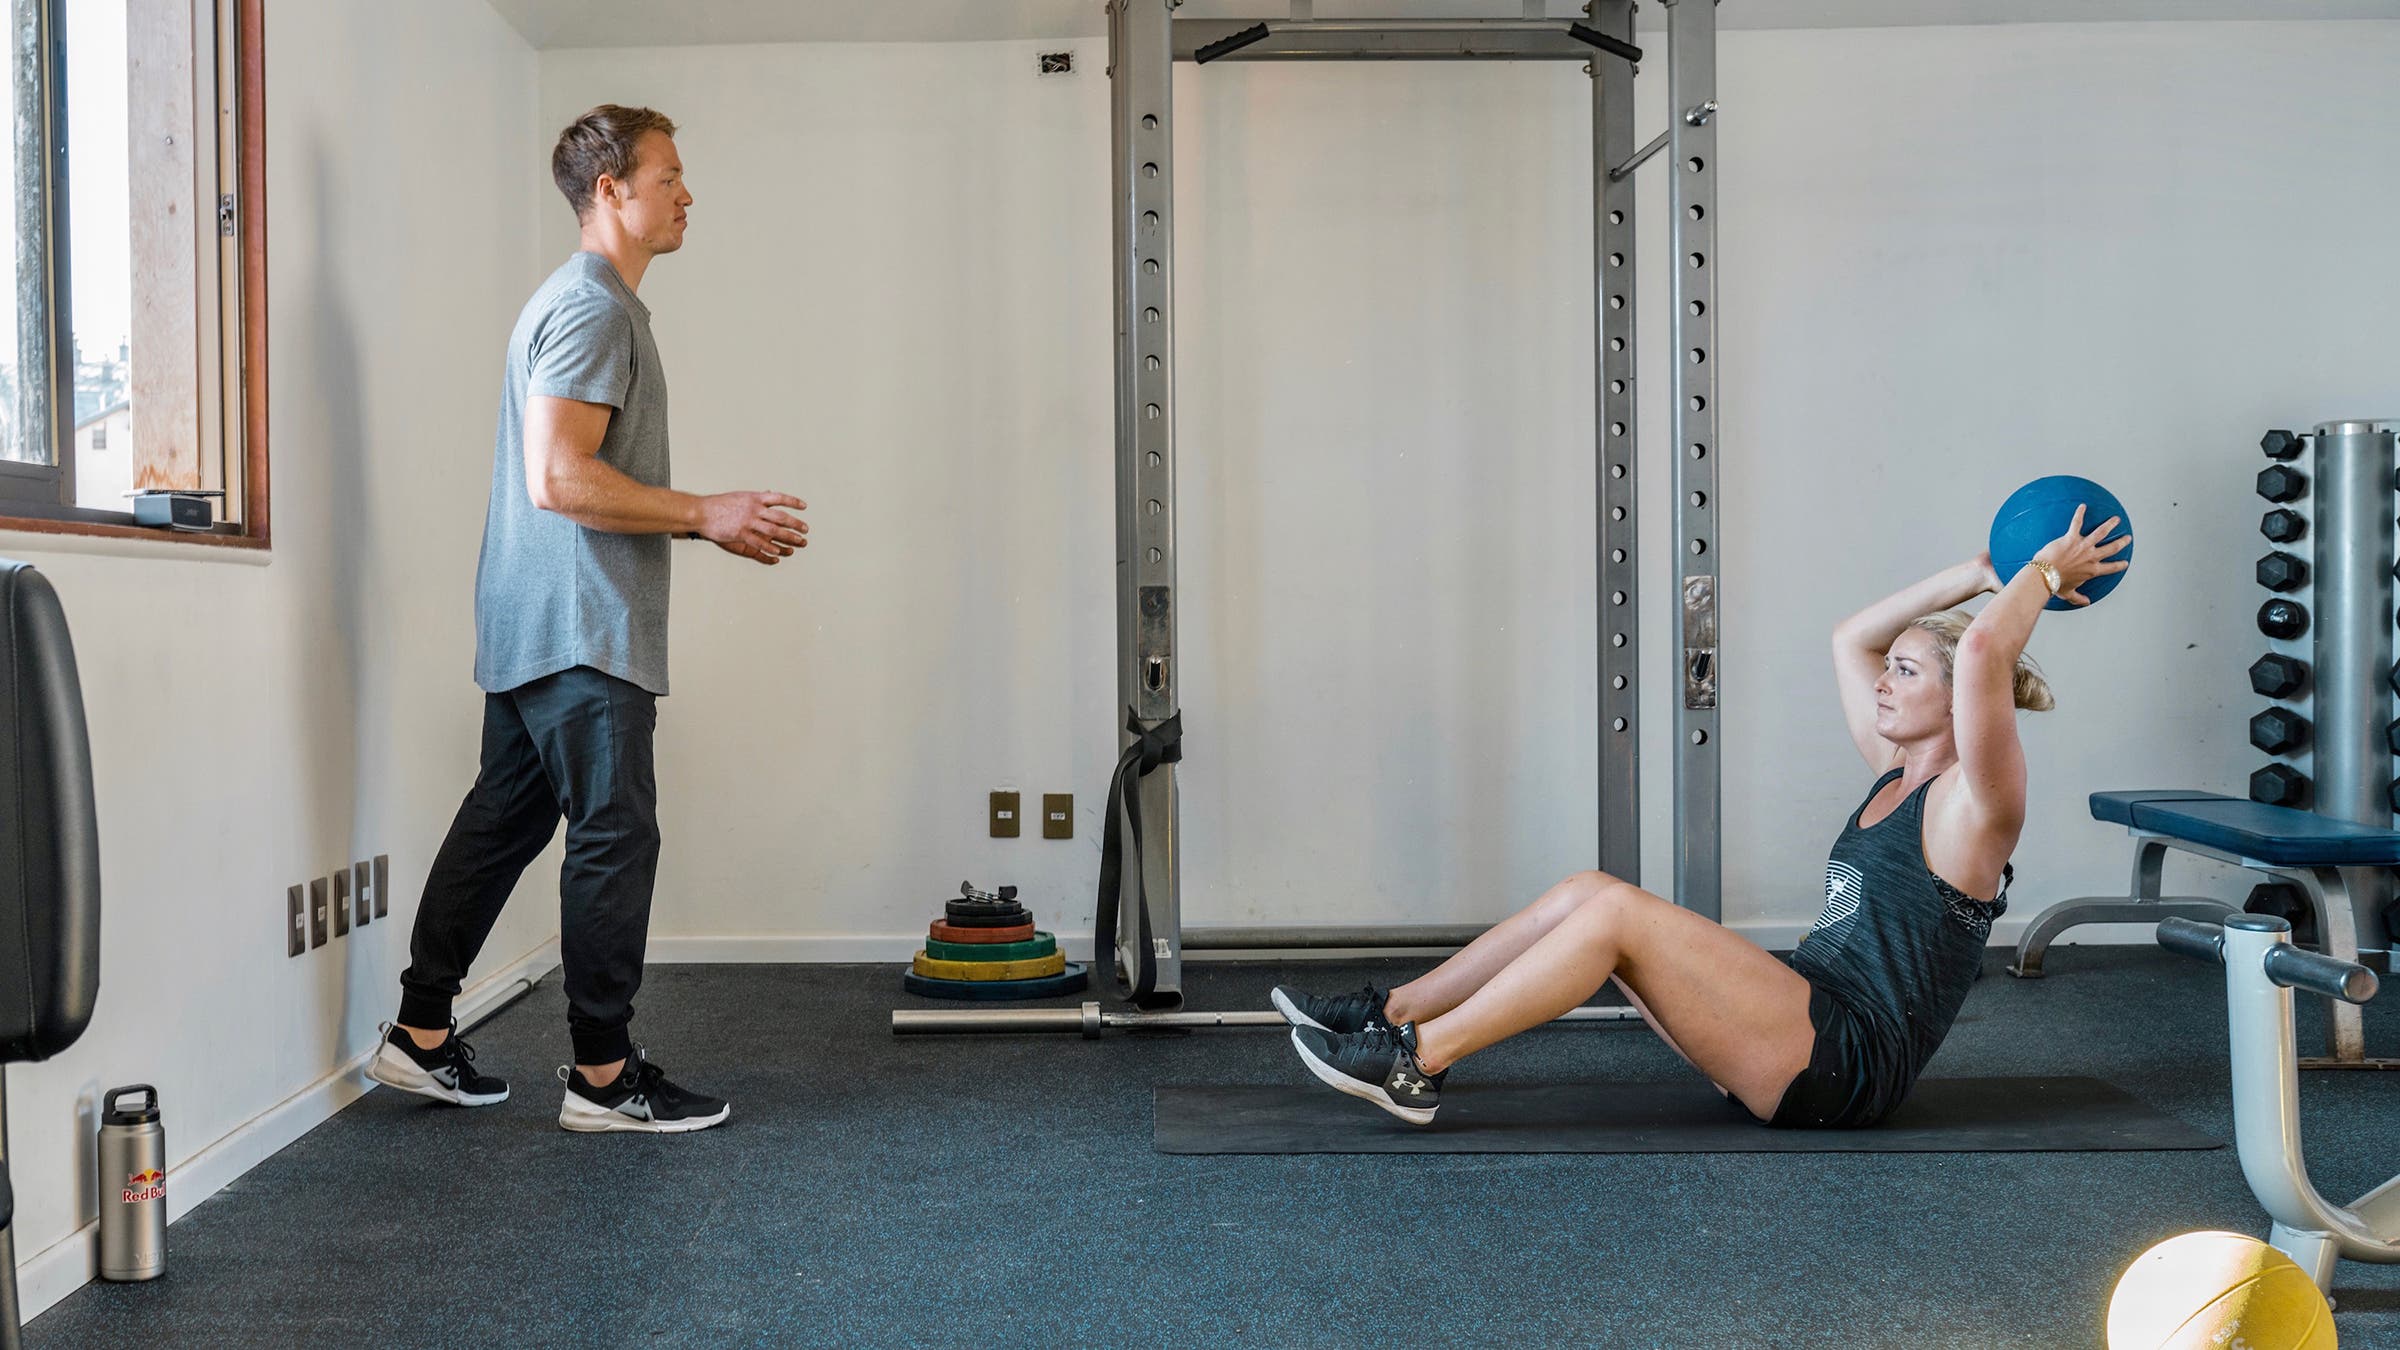
“Within days of not working out, you’ll begin to detrain. Use it or lose it,” says Alex Bunt, who exclusively trained Olympic downhill champion Lindsey Vonn before she retired in February.
Promise us something. This November, unless you’re climbing in Yosemite or hunting antelope in Wyoming or surfing in Baja, you will go to the gym twice a week and work out. Ski season is nigh, and if you hole up until winter emerges, opening day won’t be pretty.
“Within days of not working out, you’ll begin to detrain. Use it or lose it,” says Alex Bunt, an athlete-performance specialist for Red Bull, who trained Lindsey Vonn up until her retirement earlier this year. “If you go into hibernation mode in November, you might be at your weakest when you go ski. This time of year, prioritize gym training and strength training if you’re not outside.”
Strength isn’t just about being able to ski bell to bell; it’s critical for injury prevention. Skiers bust their knees more than any other body part, researchers found in a survey of 1,593 patients at Montana’s Big Sky Medical Clinic. Which makes sense when you think about it: we drop down into a squat and hold steady, absorbing dynamic forces from every direction as the ground underneath us changes constantly, quickly, and unpredictably. So strength in the muscle groups surrounding the knees makes the difference between a tweaky turn and a torn tendon.
To maintain stable form and stay on top of your skis, “you need every athletic quality,” Bunt says. “You need strength, you need power, you need quickness, reaction time, balance, core strength, hip strength.” To check all the essential training boxes, Bunt recommends this lower-body routine, which should take about an hour in the gym. Start with a good warm-up: five to ten minutes of cardio, followed by at least five minutes of stretching before you start the moves. Focus on areas where you’re tight, and favor dynamic stretches over long, stationary holds.
ADVERTISEMENT
Tools You’ll Need
- Stability ball
- Resistance bands
- Dumbbells
- Medicine ball
- Barbell
Ski Workout: Build Strength and Prevent Injury
Front and Side Plank
What they do: Strengthen the core, which is key for maintaining stable form on skis.
How to do them: Start with the front plank. Lie on your stomach, and place your palms flat on the ground, with your elbows positioned directly under your shoulders. Press your toes and elbows into the ground and lift your whole body up as one unit. For good alignment, imagine a straight, unbroken line running from your head through your shoulders and hips to your feet. You don’t want your hips to sink or rotate or your butt to pop up. If you can hold this position for 60 seconds, progress by raising one foot off the ground. If you can hold that for 60 seconds, drop the leg, raise one arm in front of you, and hold. And if you’re still not sweating, raise the opposite arm and leg at the same time, holding for 60 seconds on each side.
For the side plank, lie on your side, propped up by your forearm, which is resting flat on the ground and perpendicular to your body. Make sure your elbow is positioned right under your shoulder, your legs are straight, and your feet are stacked neatly on top of each other. Lift your whole body up as one unit. You want to visualize one straight line from head to toe. If you can hold this position for 60 seconds, raise your top leg and hold. If that’s easy, make it harder by changing up your base: balance on your hand instead of your forearm. And if this is still too easy, lift your upper leg so you’re in the full “star” side-plank position.
For the side plank, lie on your side, propped up by your forearm, which is resting flat on the ground and perpendicular to your body. Make sure your elbow is positioned right under your shoulder, your legs are straight, and your feet are stacked neatly on top of each other. Lift your whole body up as one unit. You want to visualize one straight line from head to toe. If you can hold this position for 60 seconds, raise your top leg and hold. If that’s easy, make it harder by changing up your base: balance on your hand instead of your forearm. And if this is still too easy, lift your upper leg so you’re in the full “star” side-plank position.
Stability-Ball Ski Jumper
What it does: Strengthens the glutes, hamstrings, back, and core.
How to do it: Kneel on the floor, with the soles of your feet pressed to a wall behind you. Place a stability ball in front of you, and lean forward to lay your belly on it. From this position, push your heels into the wall to extend your legs straight, rolling your hips onto the ball. Lift your hands up in front of you, like Superman. Your hamstrings and glutes should be working the hardest; your lower back shouldn’t be strained. Hold for 60 seconds. To make it harder, grab a medicine ball, hold it in front of your chest, press out into the Superman position, then return. To make it even harder, rotate at the waist while you press outward, alternating sides each time. Your hips and lower body should remain stationary.
ADVERTISEMENT
Lying Leg Rotation
What it does: Trains your body to rotate the hips independently of the shoulders, which is helpful for maintaining a square, downhill-facing position in your upper body while skiing.
How to do it: Lie flat on your back, with both legs extended straight up in the air. Your hips should create a right angle. Extend your arms out to either side, pressing your palms into the ground. Fire up your core to rotate both legs to the side, while maintaining the evenness of both shoulders and both palms pressing on the ground. Don’t aim your feet toward your hands; keep your legs parallel to your arms. Only go as far down as you can while maintaining control in your core. Hold for 60 seconds on each side. To make it harder, hold a medicine ball between your feet. To make it even harder, skip the medicine ball but hold an empty bar up in the air as if you’re at the top of a bench press. Don’t let the bar tip at all to either side.
Resistance-Band Skate Walk and Lateral Walk
What they do: This is hip pre-hab, or preventative strengthening. It’s focused on the muscles around the hips, building their endurance. These muscles control all of the lower legs and are important for ACL injury prevention.
How to do them: Choose a resistance band that feels moderately heavy to you. For the skate walk, stand in a solid, even-footed position, with your feet under your hips and shoulders, and then put the band around your ankles. Step forward, moving your front leg diagonally to the outside. Step your back leg forward, so you can return to your original standing position. You shouldn’t feel like you’re dragging or pulling your back leg; you should be firing up the glutes to move that leg forward. Continue until fatigued. For the lateral walk, stand square, step one leg out to the side, and then bring your other leg next to it so you’re standing square again. As with the skate walk, you’re not dragging or pulling your trailing leg; you want to engage your glutes. Work until fatigued.
ADVERTISEMENT
Resistance-Band Jump Squat
What it does: Supports hip stability, which keeps your knees aligned through dynamic movements at speed. When your knee dips in toward the center line, you’re at greater risk for an ACL injury.
How to do it: Use two medium-weight resistance bands: one placed around your knees and one around your ankles. Stand square, with your feet under your hips. Take two little hops, landing even. On the third hop, drop into a deep squat. Drive your feet and knees outward, away from your midline and against the resistance bands. Then hop back to a square standing position, and repeat the pattern. Keep your arms stable in front of you, with your hands clasped. Continue jumping until fatigued.
Lateral Bound
What it does: Helps you make quick, smooth, and efficient turns.
How to do it: From your square standing position, jump laterally to the side, landing on just one leg. Jump back to the other leg, and flow into single-leg jumps back and forth. You want to jump both up and out, and it’s crucial to stick the one-legged landing. Move slowly and deliberately at first, and then, if you’re confident about your ability to stick the landing, increase your speed. Do three to five sets of four to six reps, with 30 seconds of rest in between. (One rep is one single-leg jump.)
ADVERTISEMENT
Box Jump
What it does: “This is your ski turn, basically,” Bunt says. This will help you move quickly from ski to ski, making turns that are dynamic, explosive, and responsive.
How to do it: Stand in a square position, holding a medicine ball at your chest. With both feet, jump up and onto a box in front of you. Choose a box that’s high enough to feel challenging but not so high that you can’t land in a solid, even-footed, half-squat position. Your knees should be aligned over your toes and not dipping inward. Your chest should be slightly forward, with your shoulders above your toes, and your butt should be slightly back. Maintain a straight back. Step down and reset. Do three to five sets of five jumps, with 30 seconds of rest in between.
Basic Squat
What it does: Strengthens your legs, which will help you hold your edge longer on more challenging terrain as well as generate more speed and force out of your turn.
How to do it: Stand with your feet centered under your shoulders and hips. Turn your toes slightly out, toward eleven and one o’clock, with your knees stacked above them, mirroring that slightly turned-out angle. To initiate the squat, hinge your hips, send your butt back, and bend your knees. Go down as far as your range of motion allows, without sacrificing your neutral spine position or the alignment of your knees. To stand up, straighten your hips and knees at the same time. Pay attention to your feet: you want to keep your toes spread out but relaxed and pressed evenly into the ground. It’s especially important to maintain the connection between your big toe and the ground.
To add weight, hold a dumbbell in the goblet position (with your palms cradling one end and your elbows pointing down). When you squat, your elbows should come down in between your legs. If you can squat comfortably with a dumbbell that’s too heavy to easily set up the pose, use a squat rack. Slowly and with control, place the bar right above your shoulder blades, at the base of your neck, and repeat the steps above. To make this even harder, pause for three seconds at the bottom of the squat, when your thighs are parallel to the ground. Do three to five sets of five to eight reps, with 30 seconds of rest in between.
ADVERTISEMENT
Bulgarian Split Squat
What it does: Similar to the basic squat, this move builds strength and stability, but it also helps you control alignment and build stability on one leg, which can help prevent an ACL injury.
How to do it: Stand with your back to a bench. Carefully, reach one leg back, and flip your foot to place your shoelaces on top of the bench. There should be a gentle bend in the knee on the bench. On your standing leg, you want your toes spread out evenly and relaxed. Don’t forget to press down on the big toe. The mechanics of this move are the same as the squat: bend your standing knee, hinge your hips to move your butt back, and move your shoulders forward. Since you’re standing on one leg, you’ll need to be more vigilant about maintaining hip alignment and the position of your knee above your toes. Squat down until your thigh is parallel to the ground or as far as your mobility allows. To stand up, straighten your standing-leg hip and knee at the same time.
You can do this move unweighted, and add weight as you’re ready. The easiest variation is to hold a dumbbell in the goblet position. The next step up is holding one dumbbell in the hand opposite the standing knee (this is a harder variation than the goblet). Holding a dumbbell in each hand is the hardest variation. Do three to five sets of six to ten reps on each leg, with 30 seconds of rest in between.
ADVERTISEMENT
Stability-Ball Hamstring Curl
What it does: Strengthens hamstrings, especially behind the knee, to prevent an ACL injury. This move also helps you balance out your quads (which many skiers have overdeveloped), decreasing your odds of injury. Additionally, strong hamstrings help you exit turns powerfully and with control.
How to do it: Grab an exercise ball, and lie flat on your back on the ground. Tuck the exercise ball under your knees so that your calves and heels are on top of it. Your hands should be resting on either side of your hips, with your palms pressing into the ground. Move your hips up into the air, like you’re going into bridge pose, and roll slightly onto your shoulders. Just the backs of your ankles should be on the ball now, and your body should be in a straight line from your knees to your shoulders. Roll the ball so the soles of your feet are on top of it, raising your hips and rolling fully onto your shoulders. As you curl in, maintain the straight line between your knees and shoulders. Then roll the ball back out with control. At the bottom of the pose, don’t let your hips drop.
If you can do 15 reps, you can progress into a partial single-leg curl. To do this, use both legs to curl to the top of the pose, then lift one leg and point it to the ceiling. Roll the ball out with the other leg, then back, and return to double-leg stability. Curl back down, and repeat on the opposite leg. If you can do 15 of these, do the whole movement with a single leg. Do three to five sets of as many reps as you can, with 30 seconds of rest in between.
ADVERTISEMENT
At the end of your workout, do five to ten minutes of light cardio—a low-resistance spin on the stationary bike works well—to cool down. This helps immediately begin the recovery process by increasing blood flow.